


Preloader

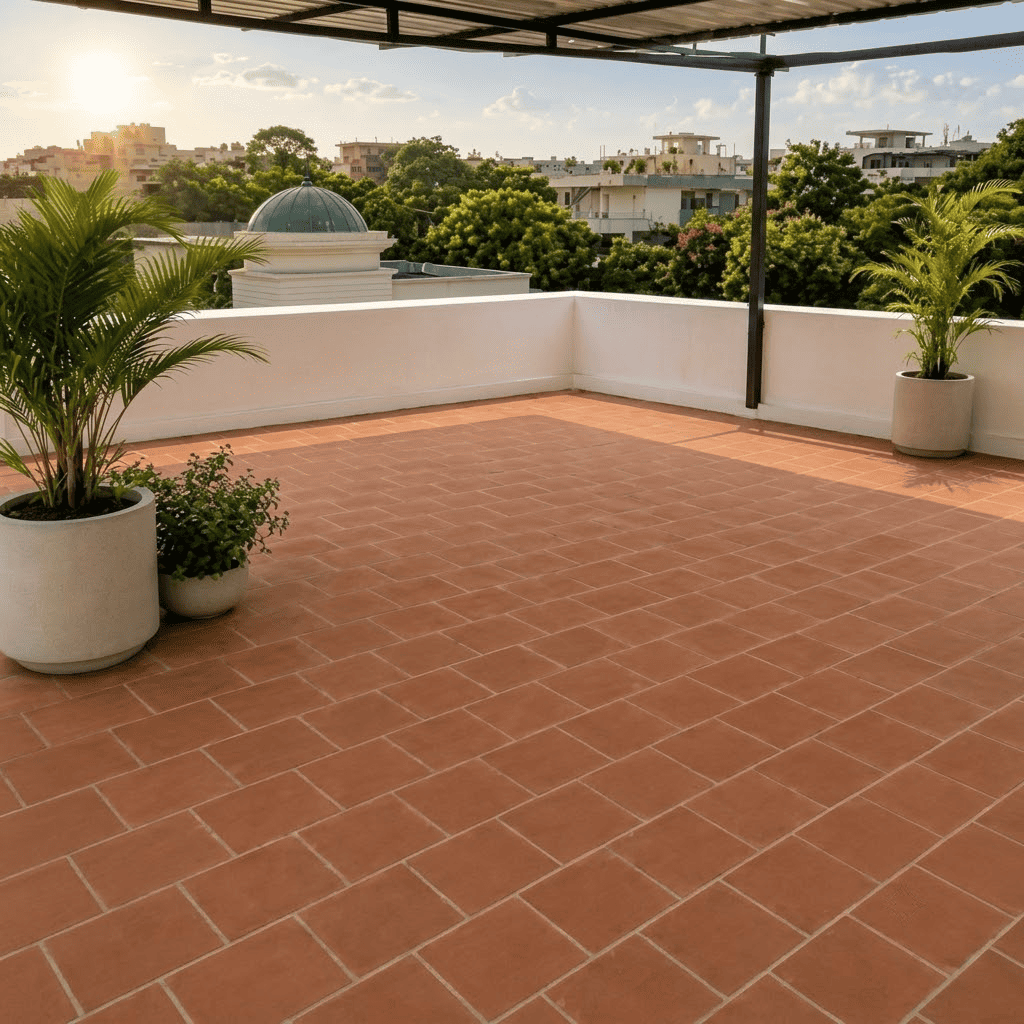
Built for the Terrace.

Extruded Roof Tiles

Clay terrace tiles designed to bring thermal comfort, durability and natural character to the spaces above.

MORE THAN A ROOF TILE

Comfort From the Top Down.

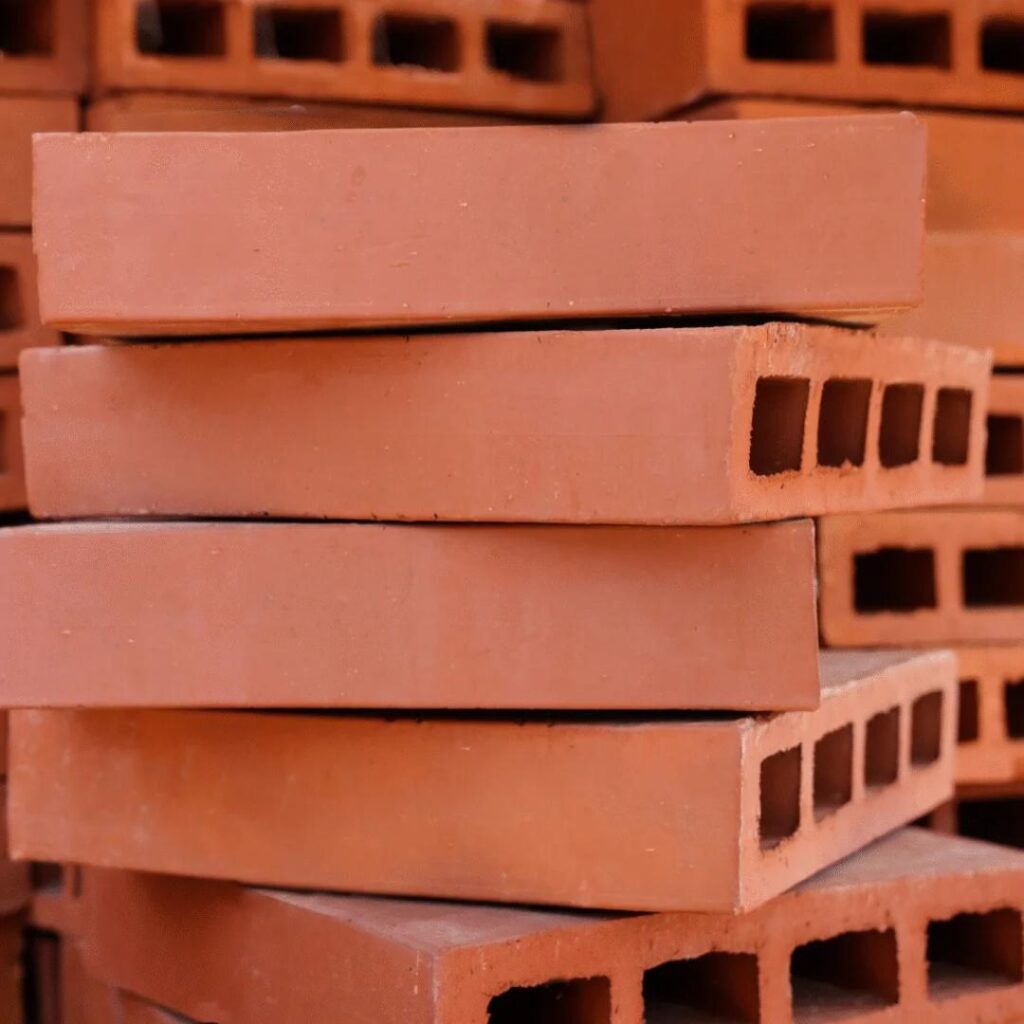
The perforated structure creates air pockets within the tile, helping provide thermal insulation while the fired-clay construction delivers weather resistance, fire resistance and durability.

100% NATURAL CLAY
PRECISION EXTRUSION
WEATHER RESISTANT
HIGH COMPRESSIVE STRENGTH
SUSTAINABLE
LOW MAINTENANCE

DESIGNED FOR MORE THAN TERRACES

A Natural Fit Across Architectural Spaces.

Versatile across residential, commercial and institunal spaces.

Roof tiles are commonly used in house & residential structures for their aesthetic appeal & durability.

Application in various commercial properties, adding an elegant touch & ensuring long-lasting protection.

Also used in schools & universities to create facilitative learning environment while withstanding weather challenges.

01.

Roof tiles adorn many religious structures, providing a timeless & traditional appearance.

Used in recreational buildings like community hubs & sports complexes, combining functionality with visual appeal

01.

Many historical & cultural heritage sites use to preserve their authenticity & architectural significance.

BUILT FOR THE ELEMENTS

Protection Above. Comfort Below.

Protects against the tropical seasons, with small pockets of air trapped inside the tile that thermally insulate the floor below.

Weather Resistant

Designed to withstand rain and outdoor exposure.

Fire Resistant

Fired clay construction helps resist rapid flame spread.

Thermal Insulation

Air pockets within the tile help insulate the floor below.

Noise Reduction

Sound-absorbing qualities help minimise external noise intrusion.

9 × 9 mm

Tile Size

32.54 N/mm²

Compressive Strength

6.82%

Water Absorption

Nil

Efflorescence

0.4474 W/m·K

U Value

34.9%

Perforation

1500 kg/m³

Density

Installation Guide

Simple steps for a strong, lasting finish.

Step 1

Prepare Surface

Ensure surface is clean, level & free from loose particles.

Step 2

Apply Adhesive

Use approved tile adhesive or mortar and apply evenly.
Step 3

Lay Tiles

Lay it with uniform joints (8-10 mm). Align & press firmly.

Step 4

Allow Curing

Allow adequate curing time as per adhesive guidelines.

Step 5

Point & Clean

Finish the joints & clean the surface with a damp cloth.

Ready to Build with ThermoBrick?

Tell us about your project and our team will help you with product selection, specifications and quantities.

Need technical assistance?

Our team can help with product selection, quantities and specifications.